
V1 SCRIPT WORKFLOW: These steps describe the earlier TradeSmart V1 alert format and third-party connection process, not Premium V2 automation. Provider screens and requirements may have changed. Check the current provider instructions and paper-test entry, exit, position size and emergency close before any live use. For a V2 script, use the V2 automation guides.
🔥 Pionex
Step 1
First, you need to register for Pionex (get 20 % rebate from trading fees using our link).
Step 2
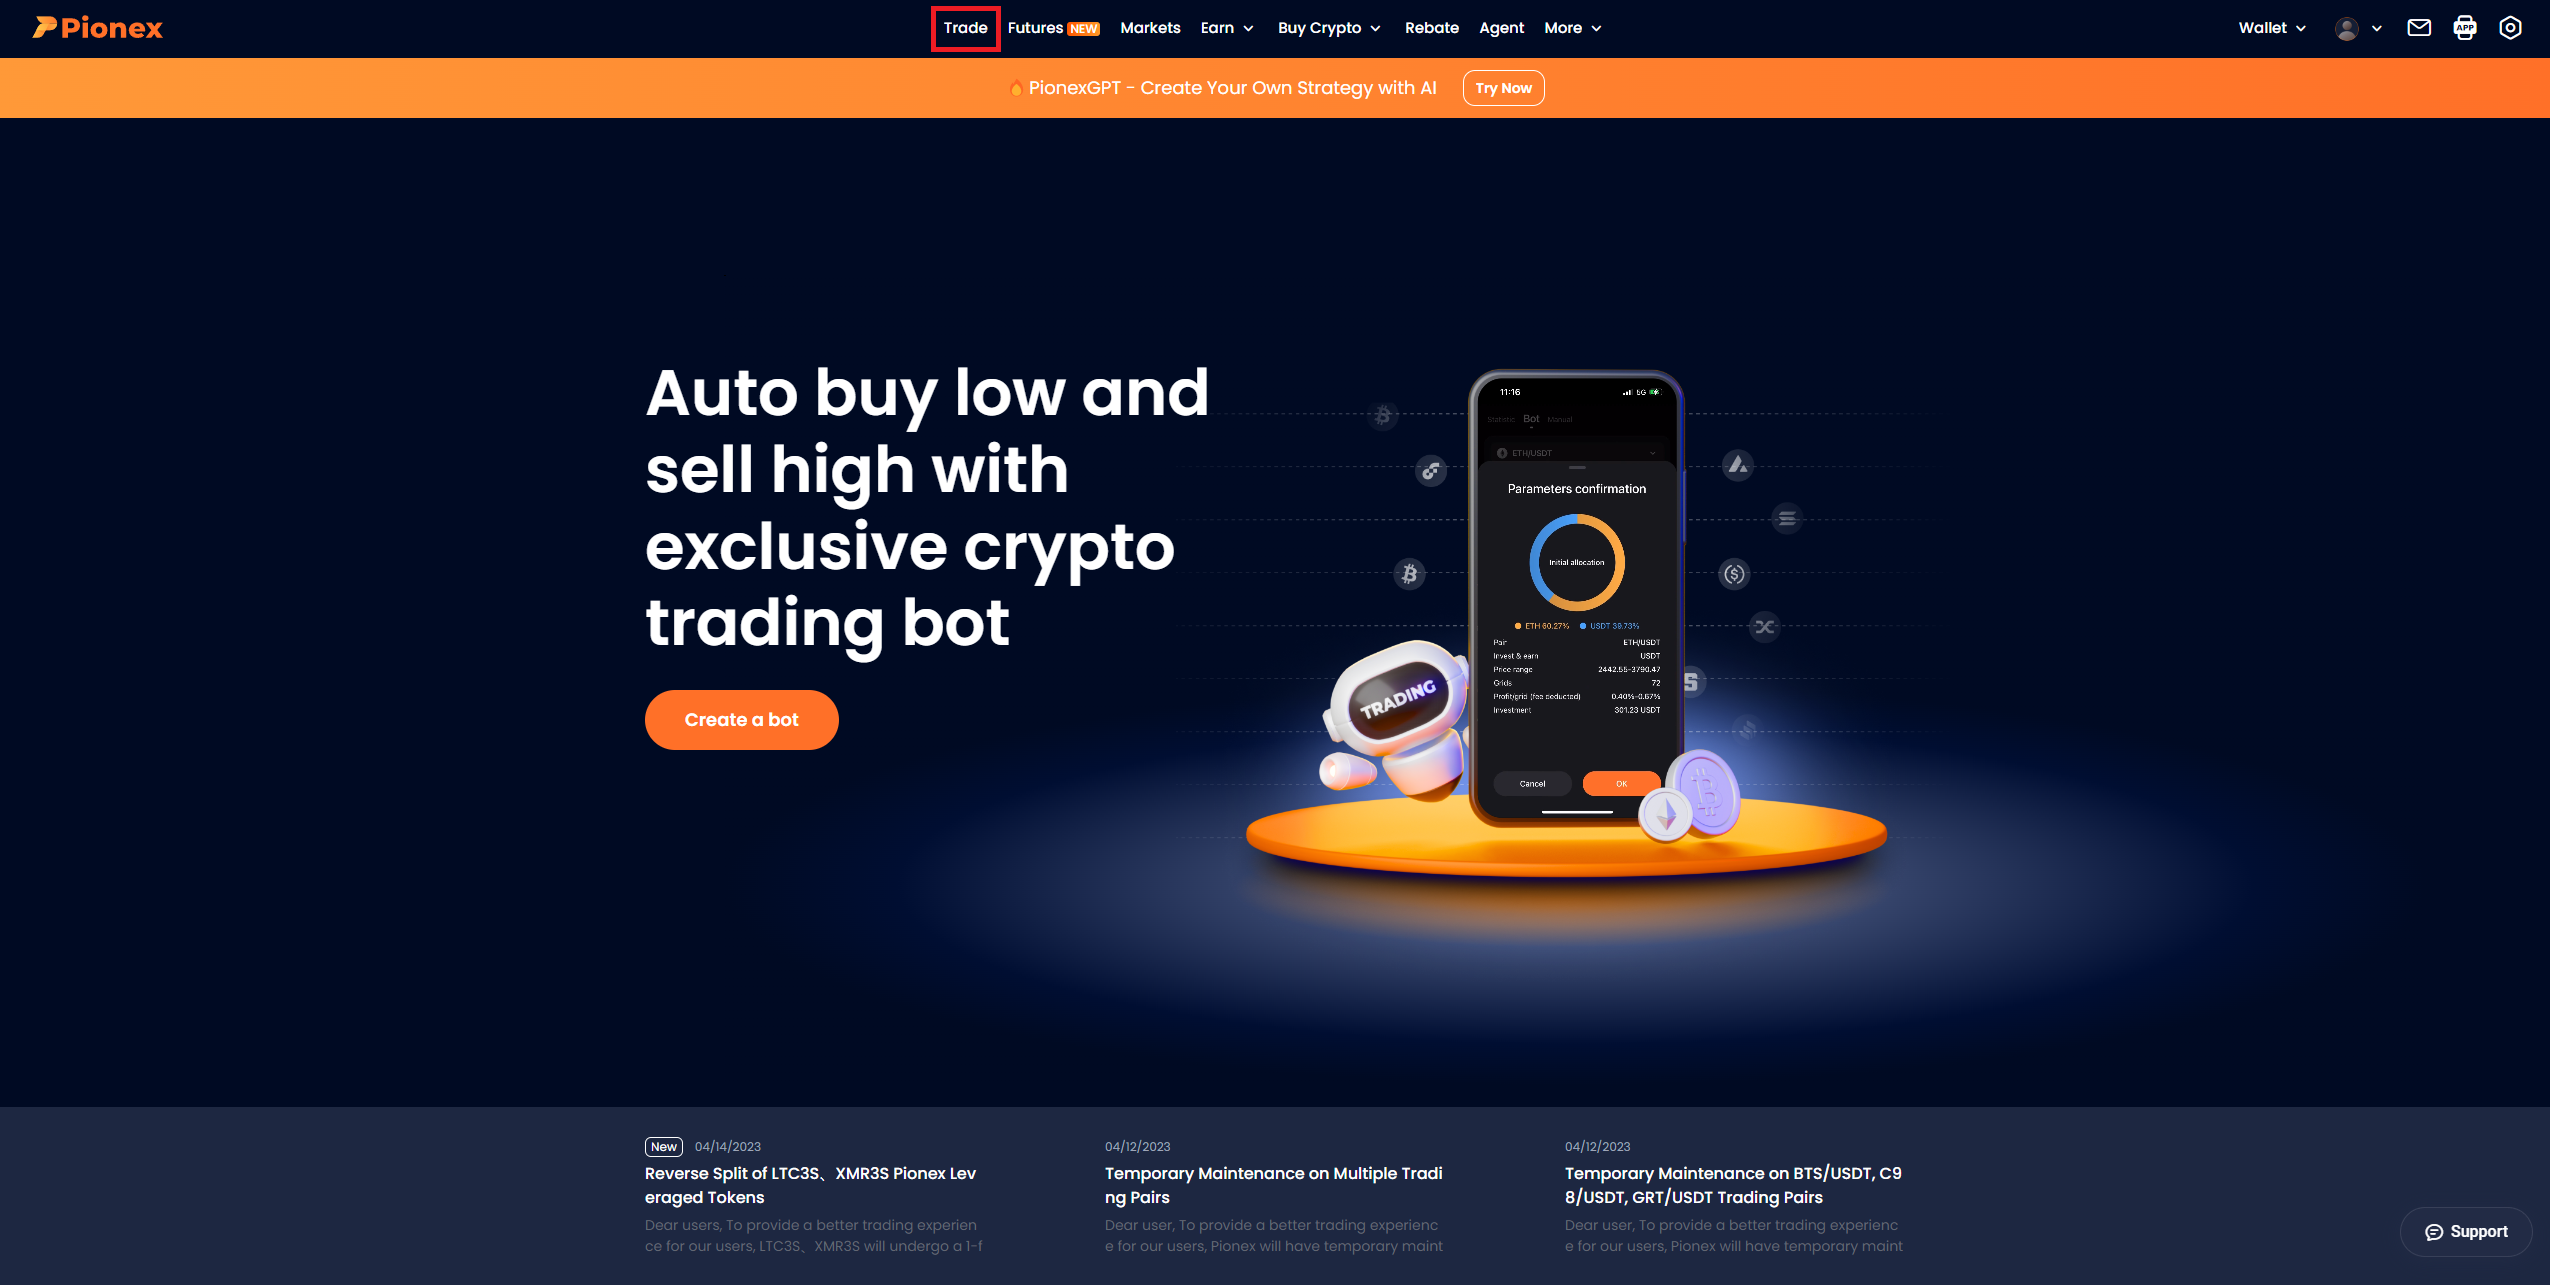
Next, log in or go to Pionex and click on the Trade button on the top.
Step 3
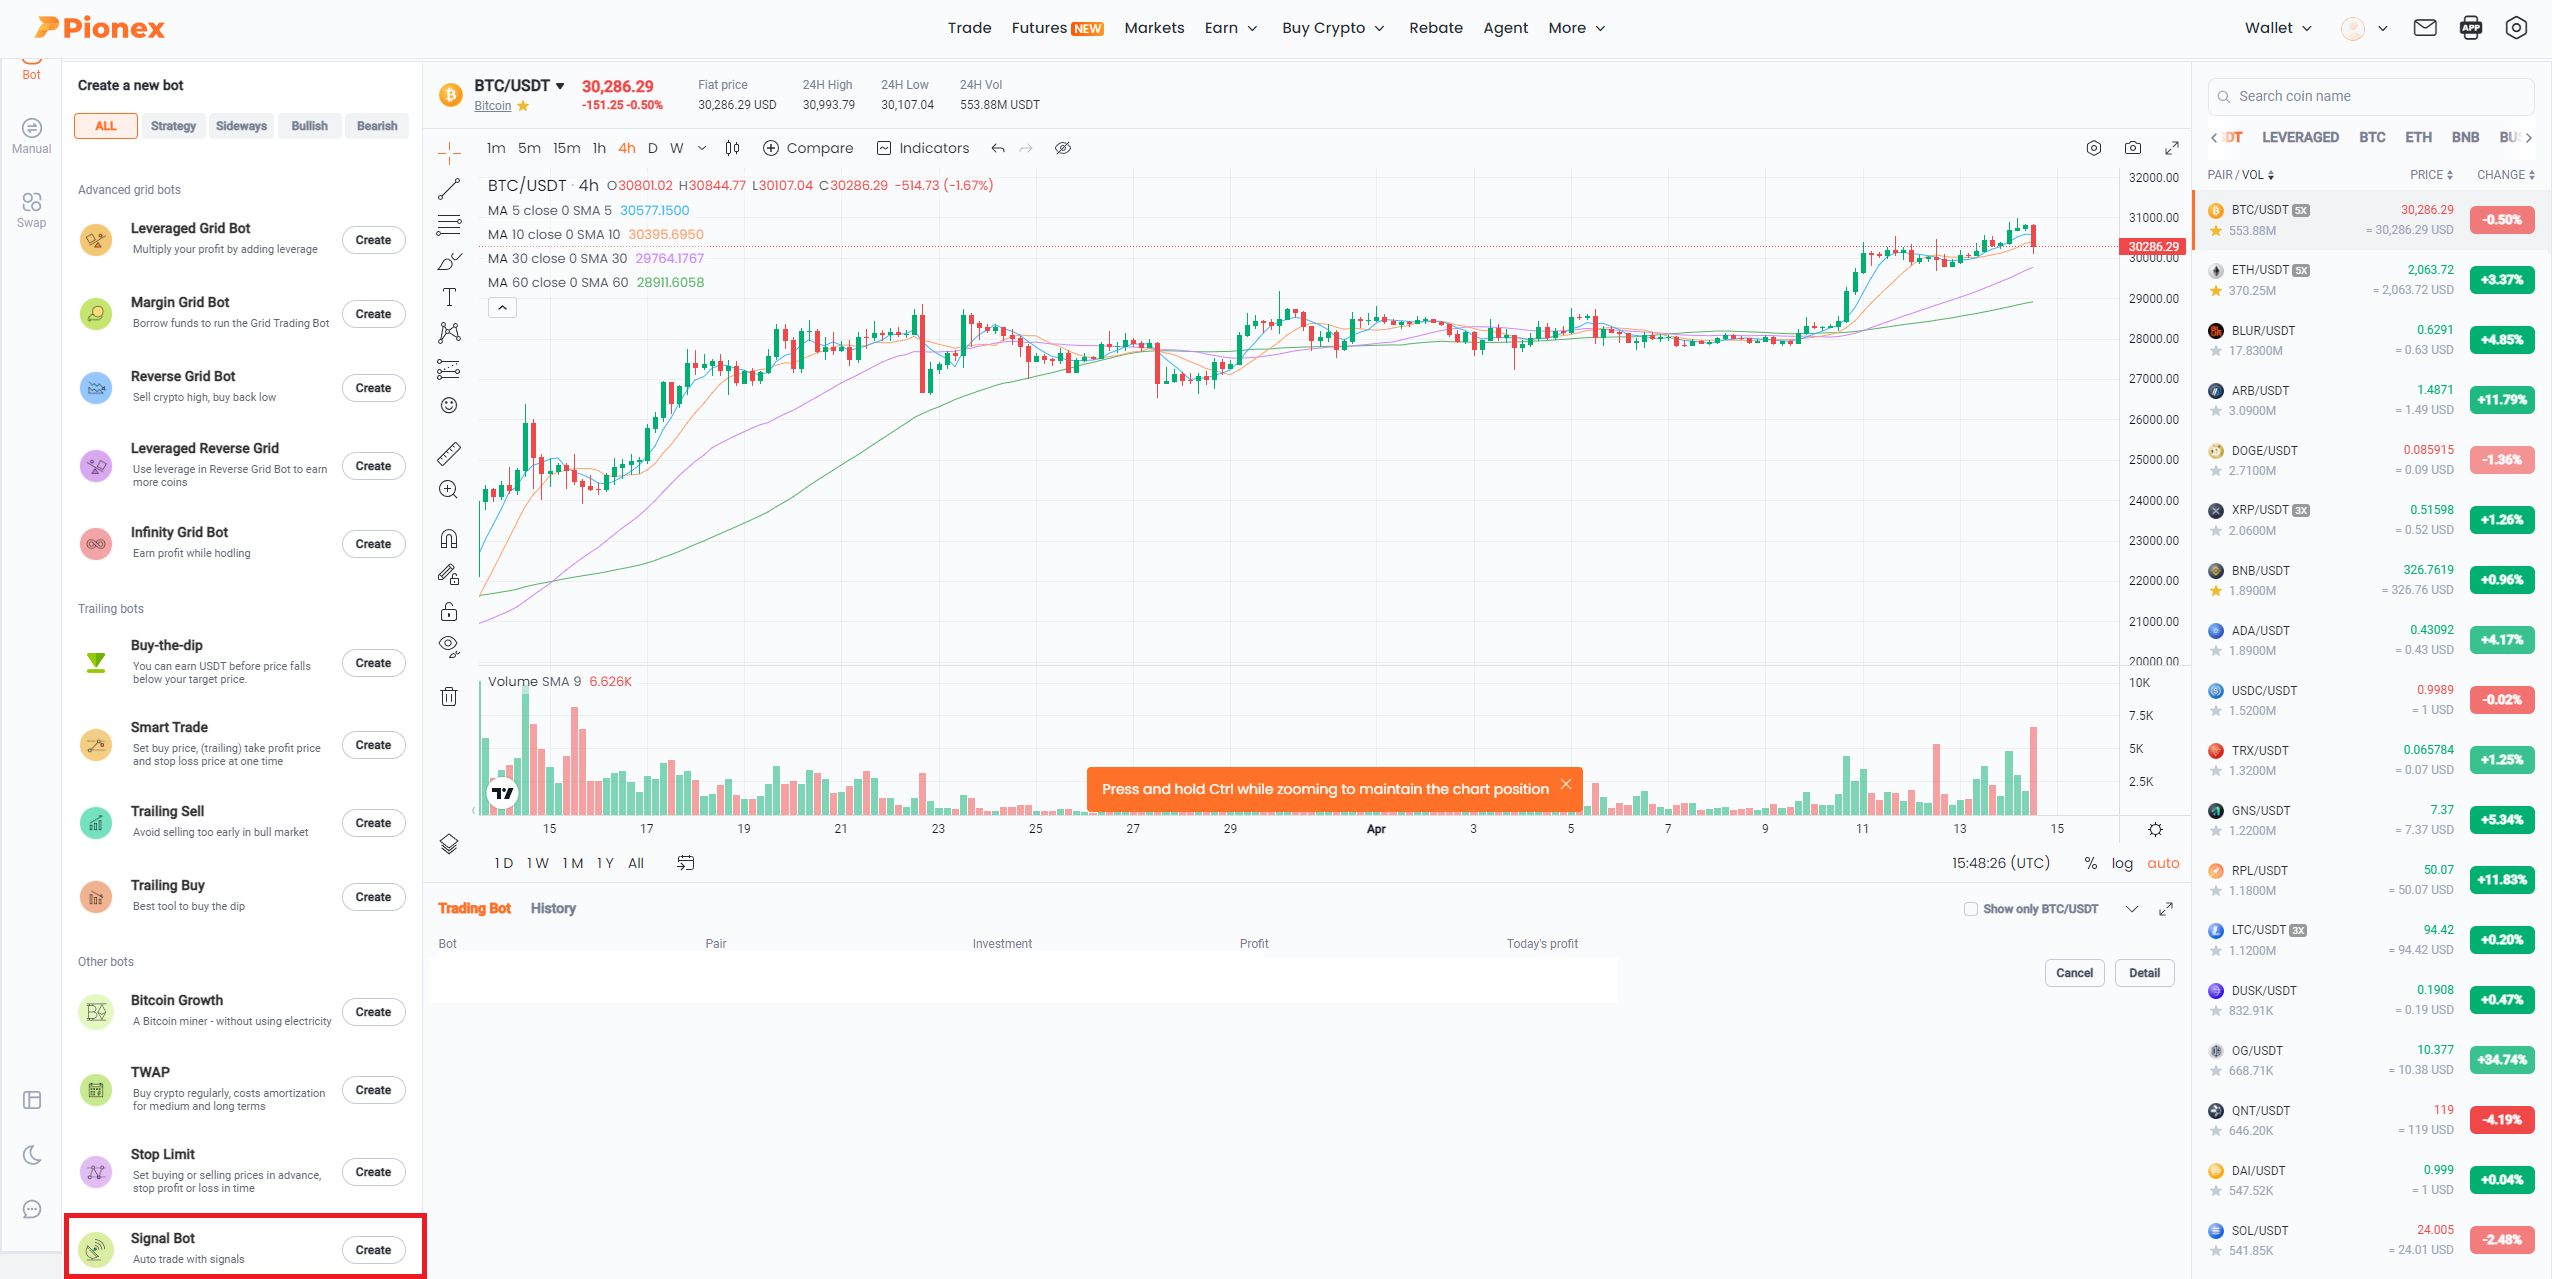
Scroll down and select Signal Bot.
Step 4
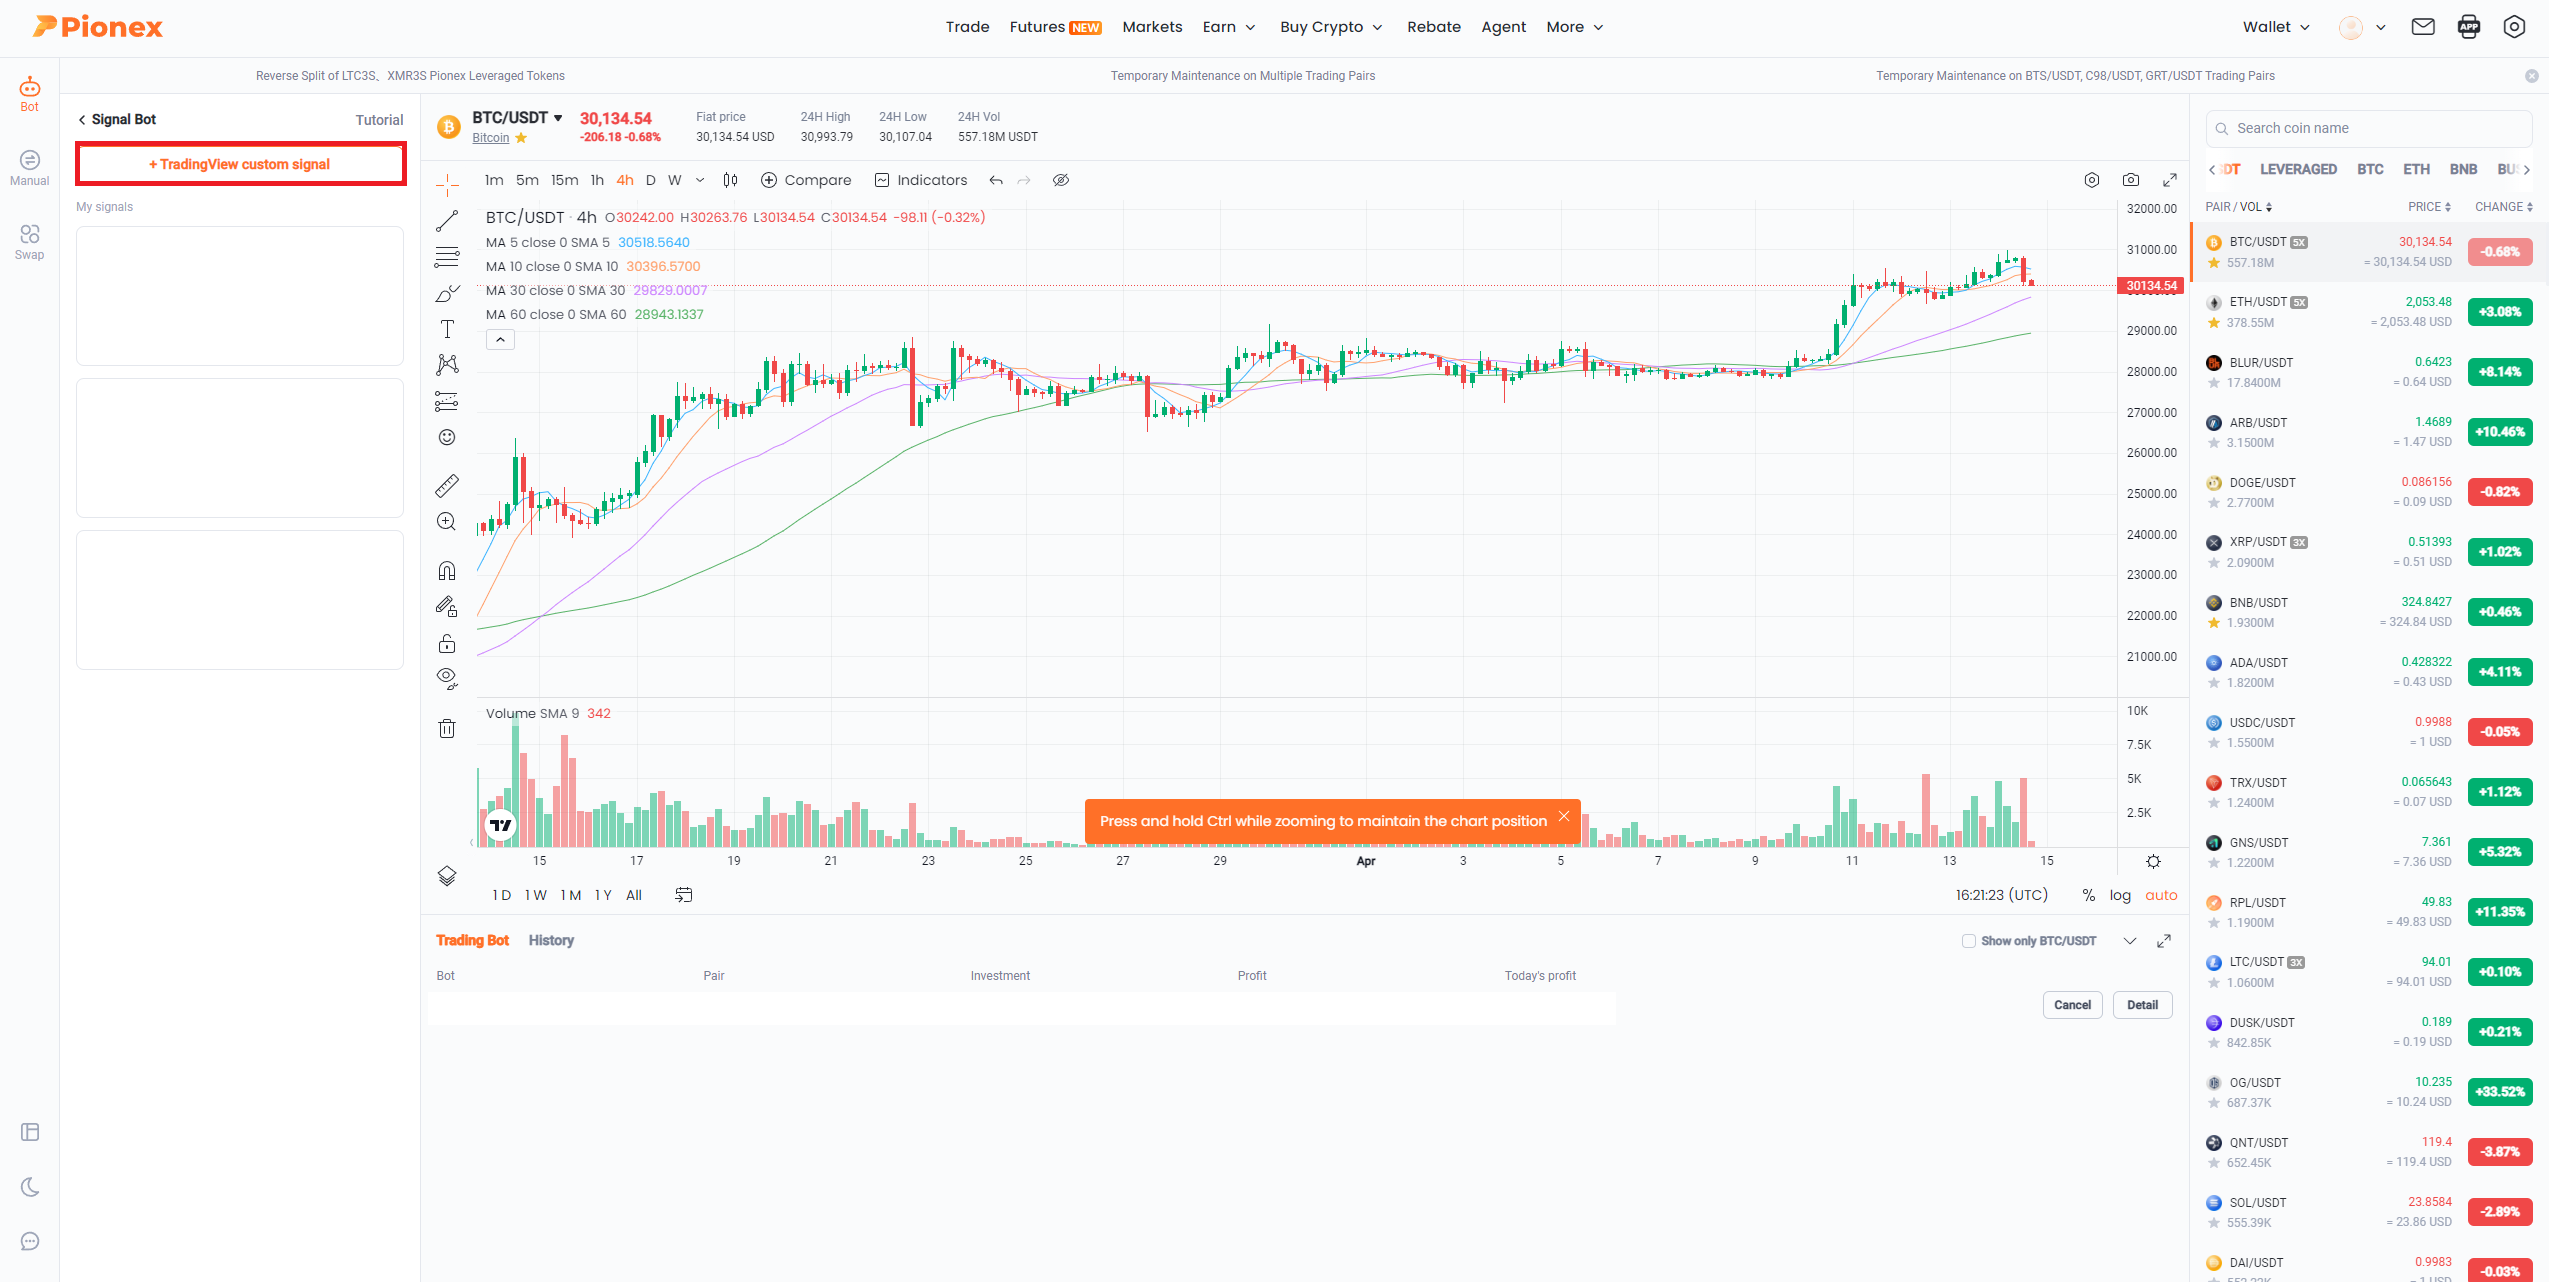
Click + Tradingview custom signal.
Step 5
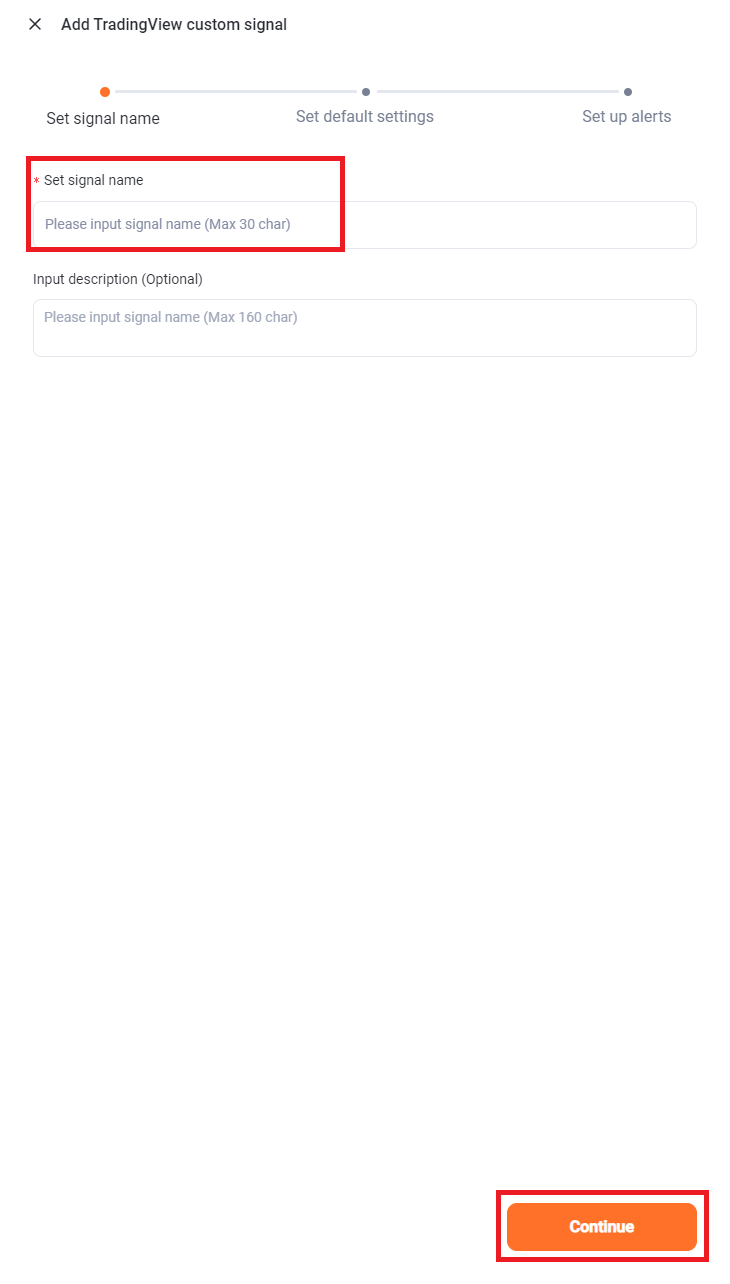
You will see the following screen popping up.
Give a name to your signal and click Continue.
Tip
You do not need to watch the videos showing up, as we will cover these in this guide.
Step 6
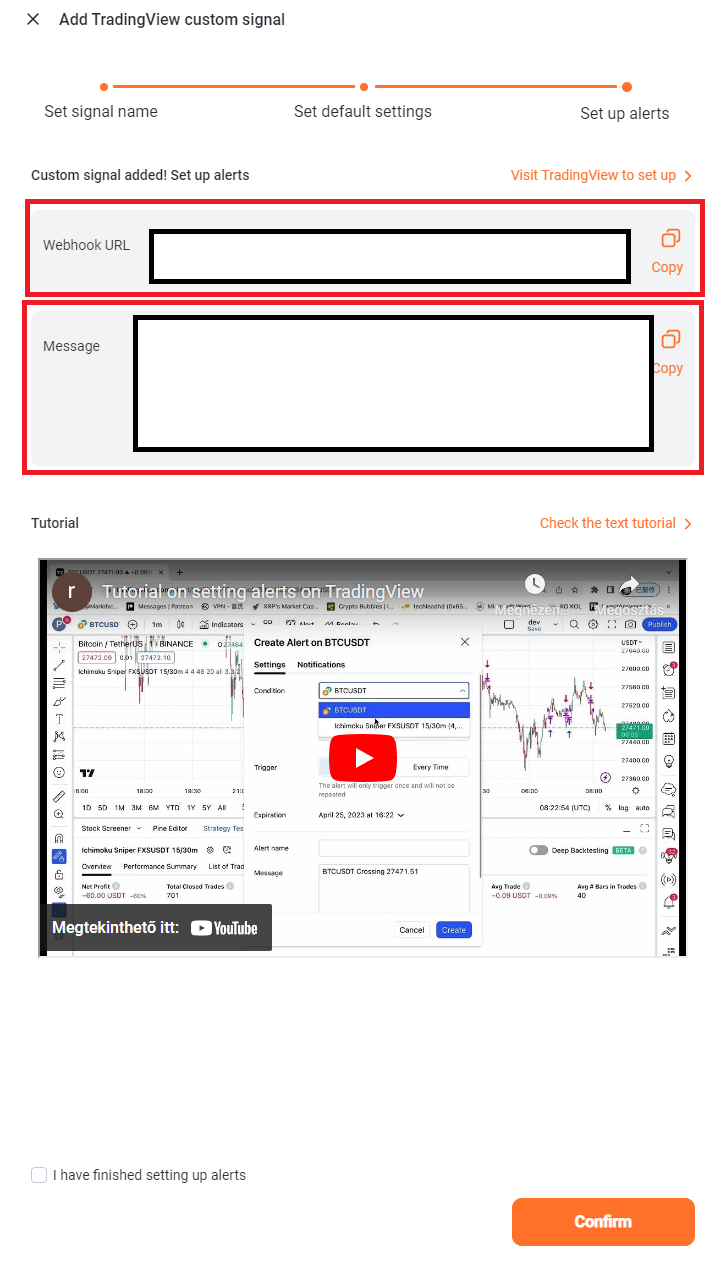
You will see Webhook URL and Message, you will need these later for Tradingview Alert.
Step 7
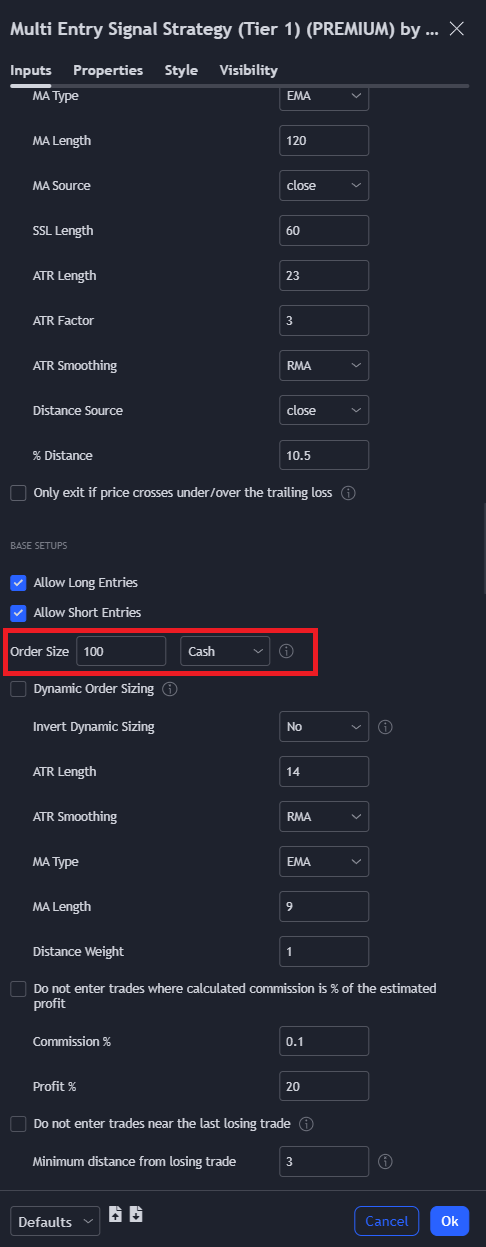
Open Tradingview in a new tab, set the trading pair and timeframe, and add one of our PREMIUM scripts to the chart. Open the script settings, then scroll down to the Base Setups Part.
The screenshot uses Order size = 100 and Cash as an example only. Do not copy these numbers to a real account without calculating an appropriate size for your instrument, account and provider.
Step 8
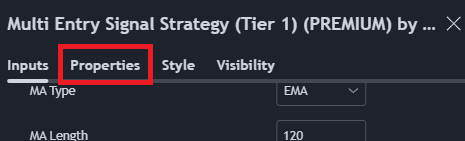
Click Properties tab on the top.
Step 9
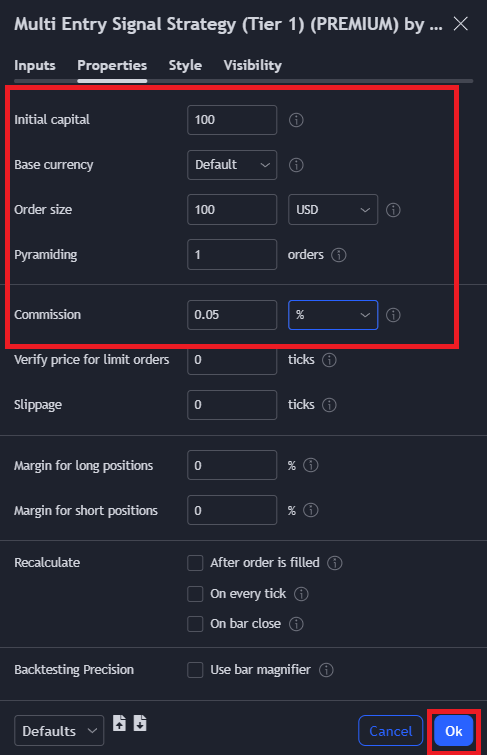
Set the following values:
- Initial Capital: 100
- Order Size: 100
- Order Size Type: USDT
- Pyramiding: 1
- Commission: 0.05
- Commission Type: %
Then click Ok button in the bottom.
Tip
Please be aware, that these settings are not being used, they just need to be set in order to send the alert messages properly.
Step 10
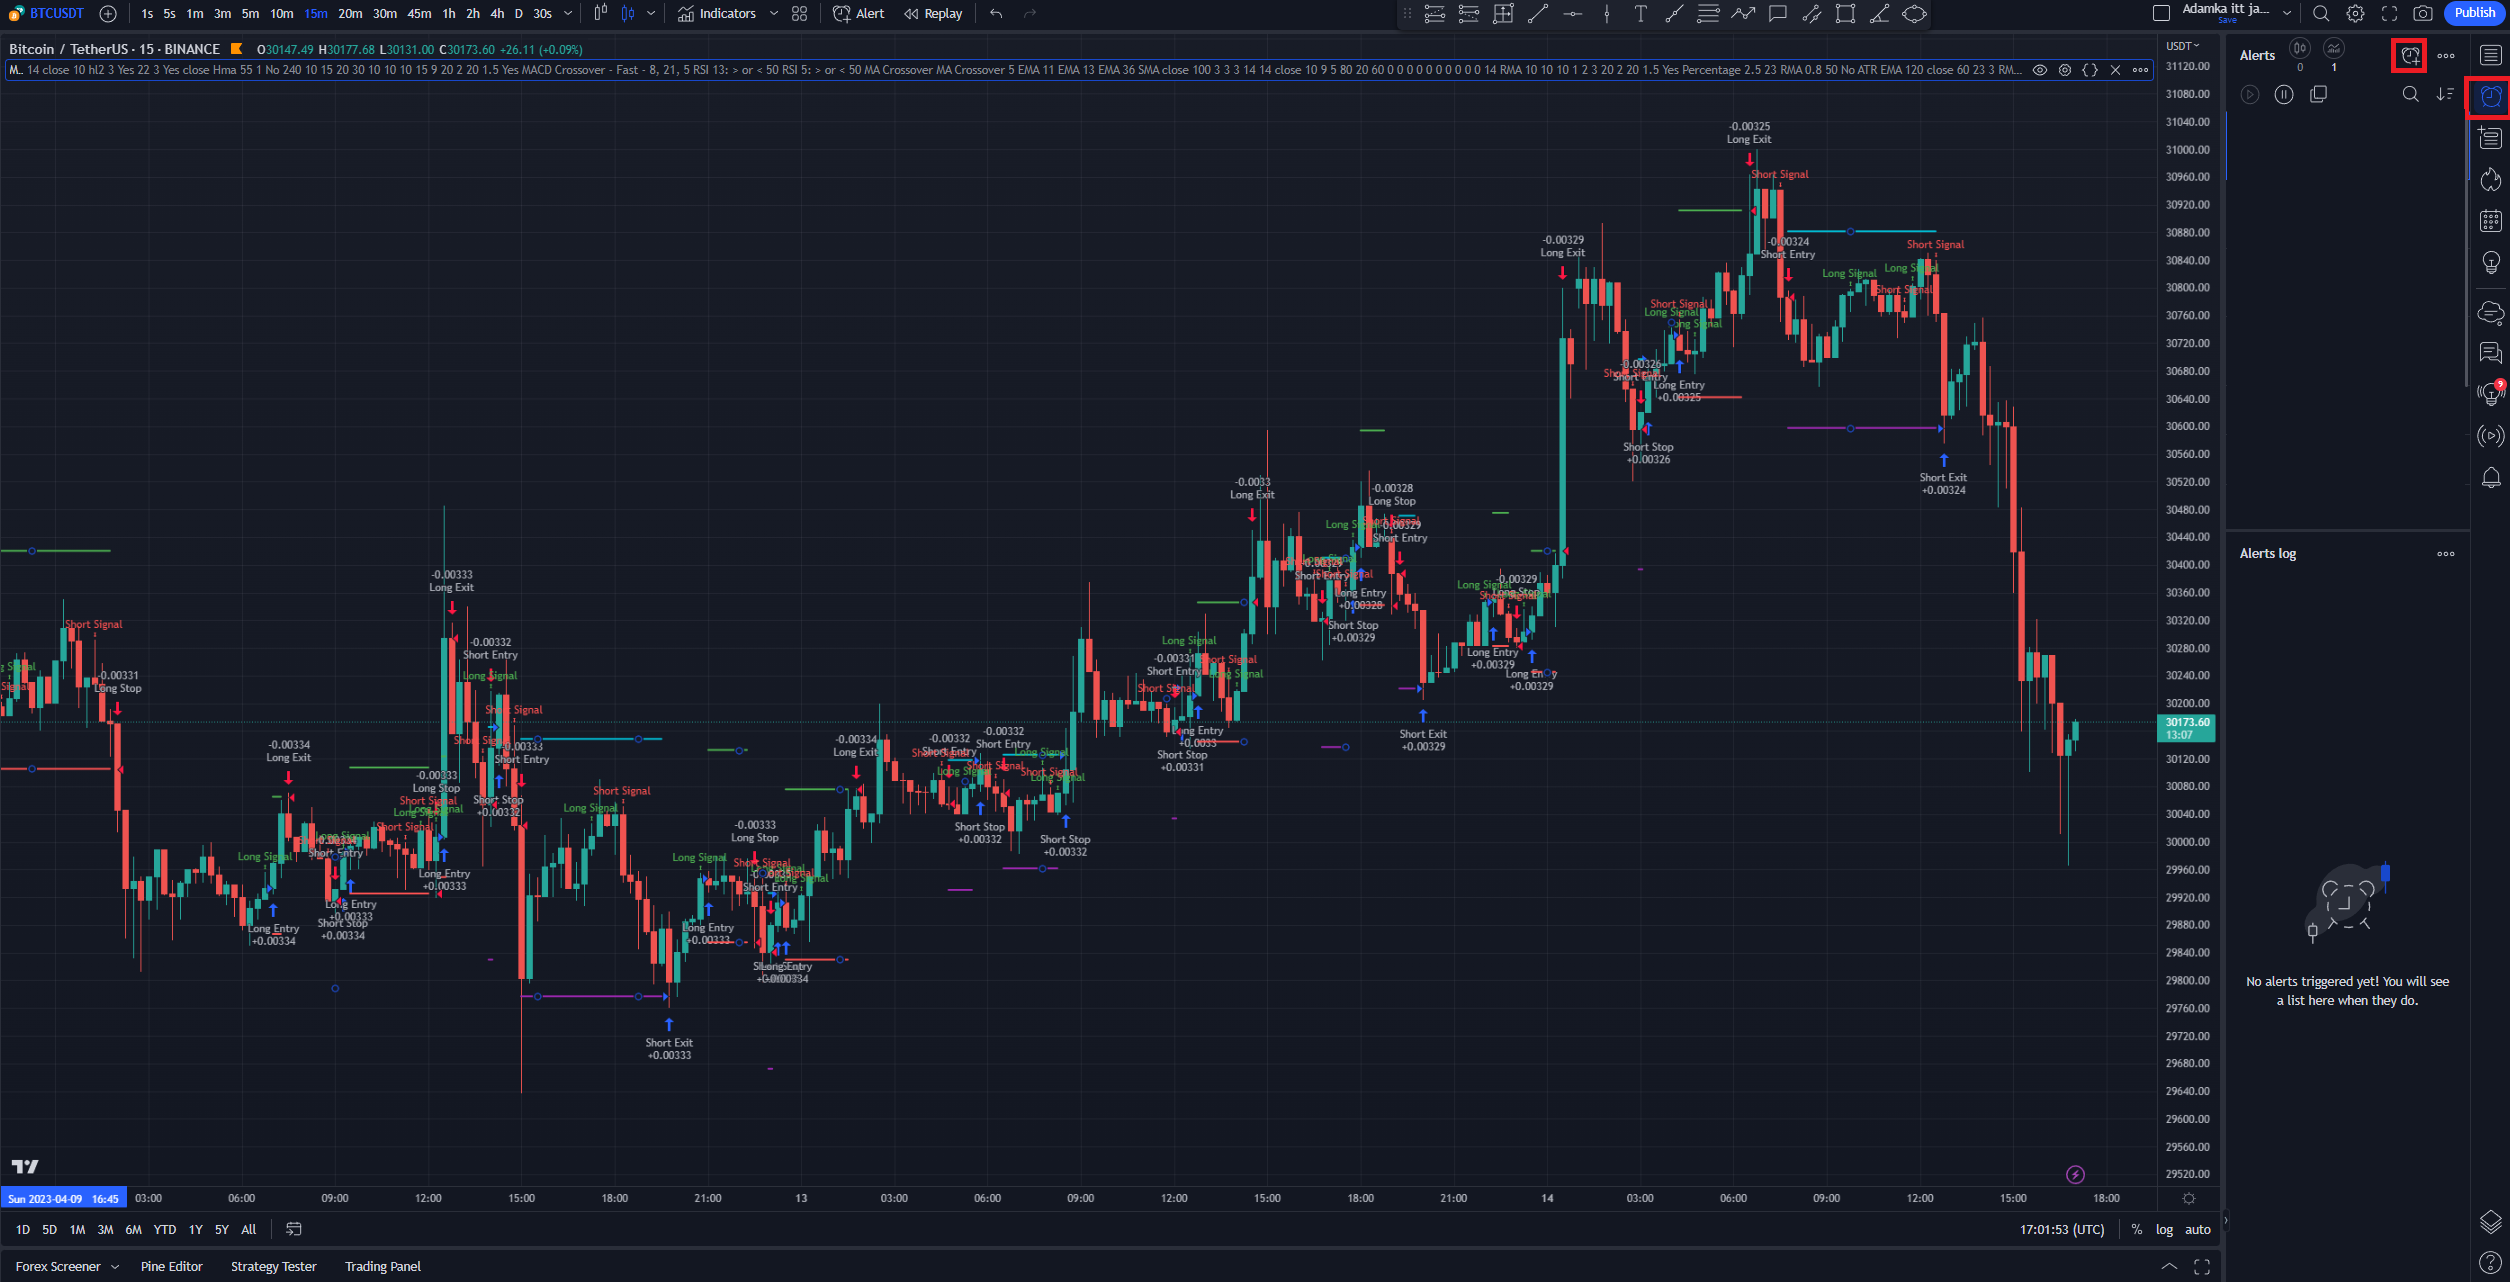
Click Alert button in the top right corner and then the Create Alert button.
Step 11
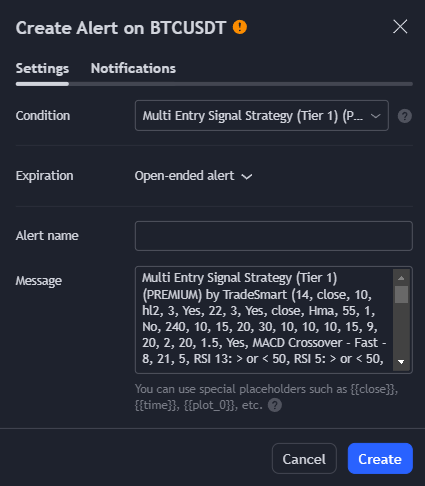
On the following screen for Condition select your strategy give a name to the alert and into the message field copy the Alert message that you got in Step 6.
Step 12
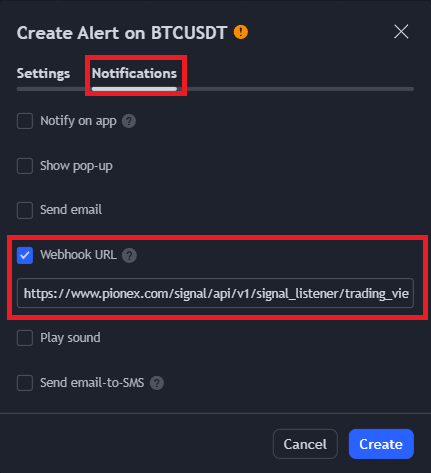
Next click Notifications and tick Webhook URL and copy Pionex’s Webhook URL that you got in Step 6.
Then click Create Button.
Step 13
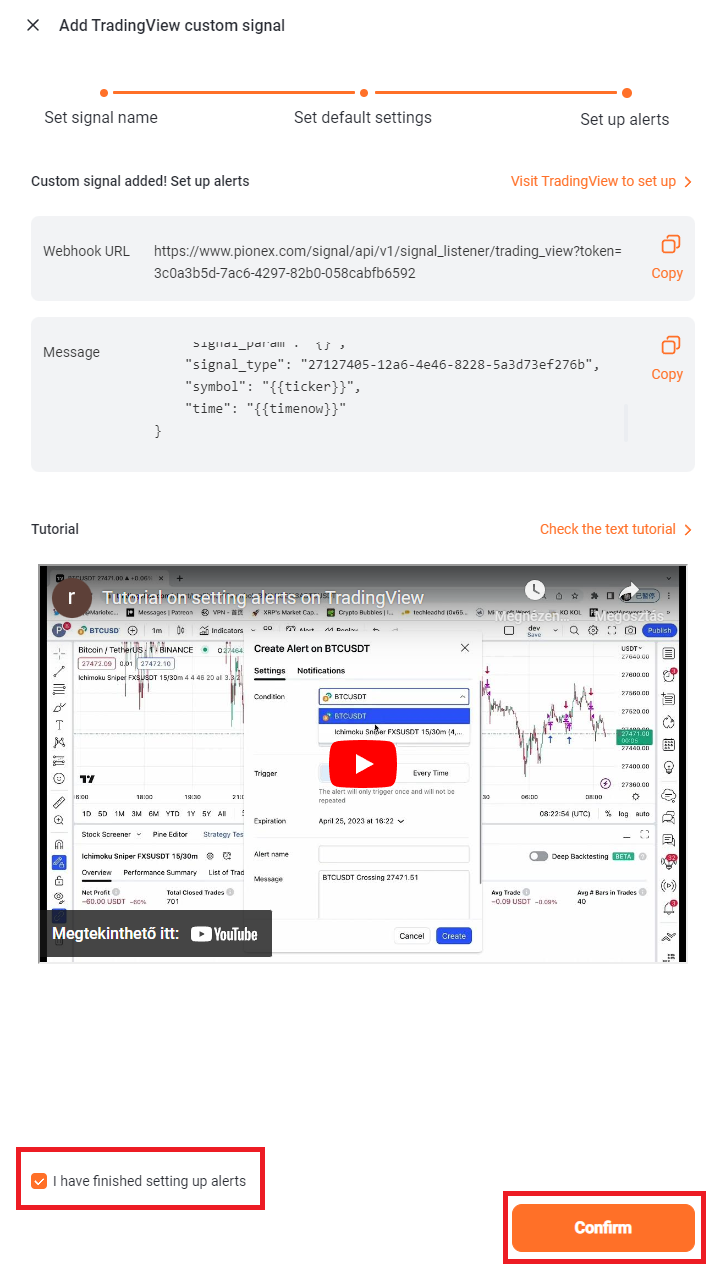
Now go back to Pionex tick “I have finished setting up alerts” and click Confirm.
Step 14
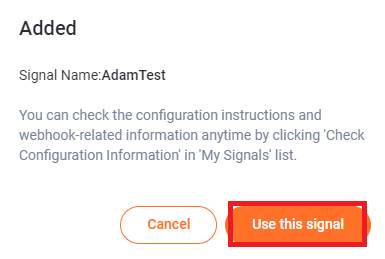
Click “Use This Signal”.
Step 15
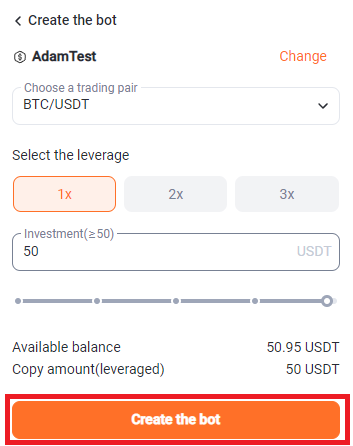
On the left, you will have the choose the Trading pair and Investment amount, that you want the bot to trade. Then click the highlighted button to start trading.
Tip
You can also set levarage, but remember that leveraging trades can potentially amplify your profits, but be cautious as it also increases your risk exponentially.
Congratulations! You now have a running script!